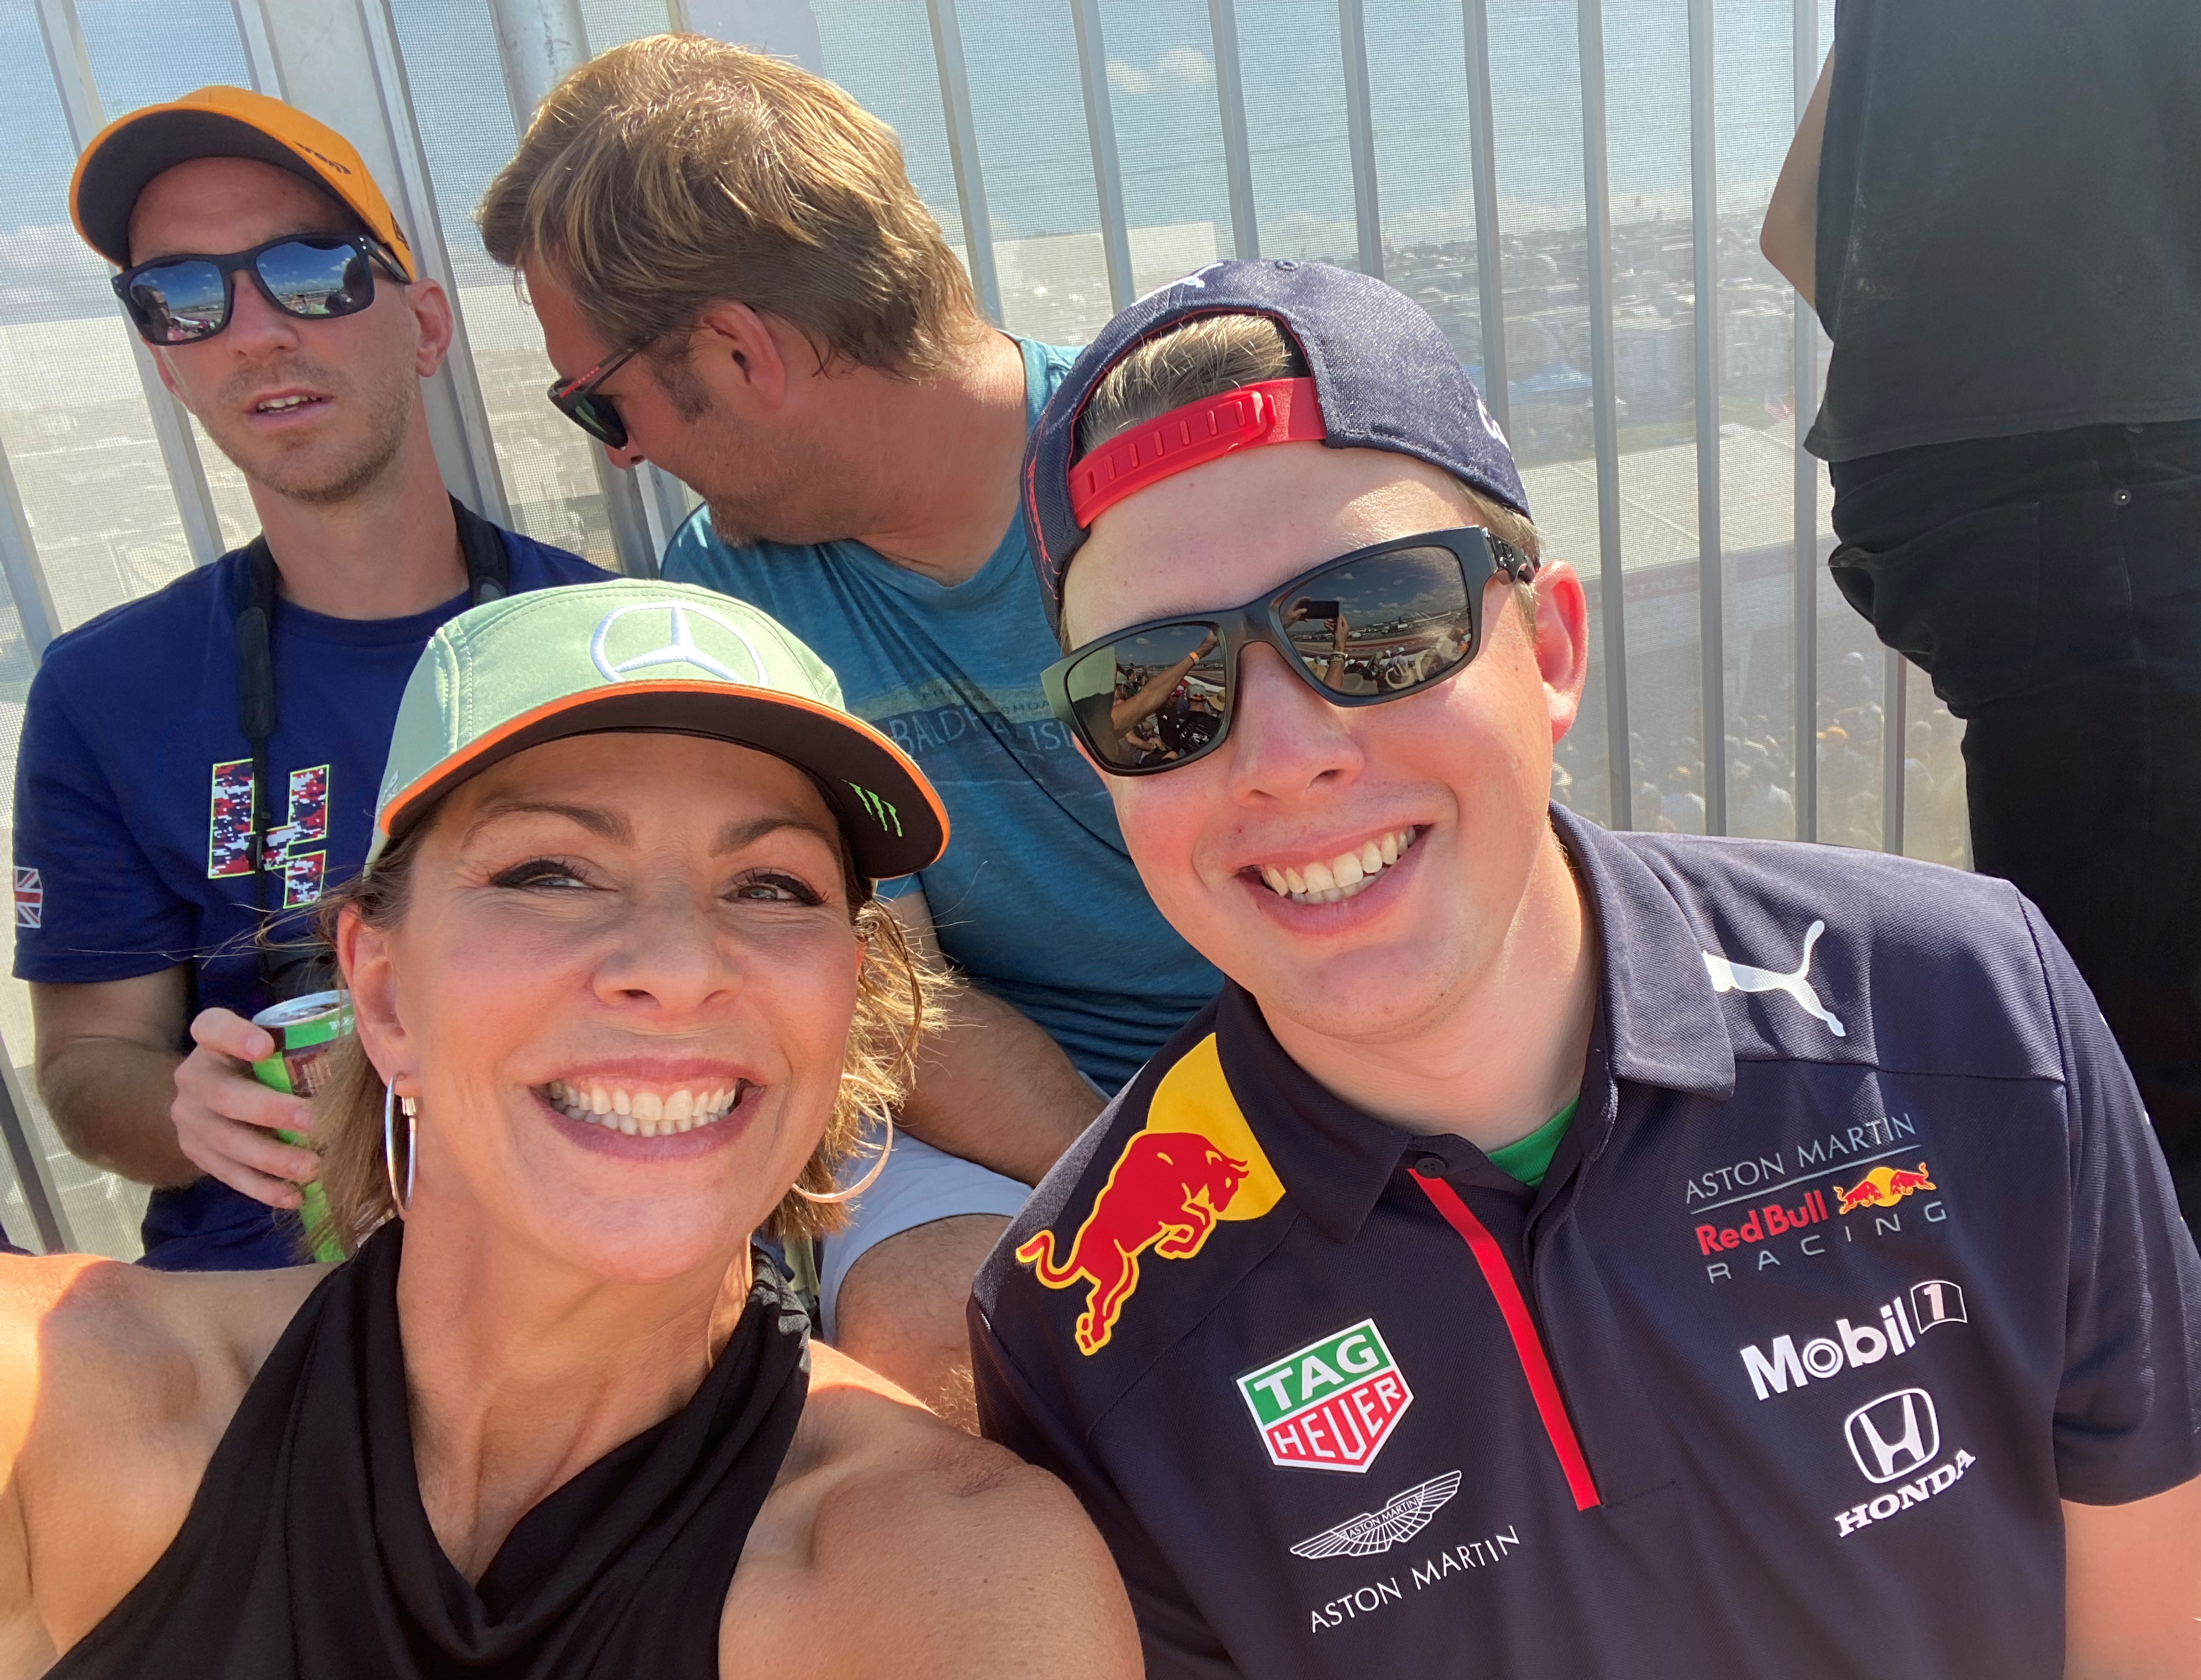
A few months ago, I was inspired by a video from one of my favorite YouTube creators, Stuff Made Here, who made a video wherein he made a robot and programmed it to paint his wall. Long story short, he took a picture, translated that in to machine commands, and the machine used dots drawn by spray paint to create an image on the wall! Super cool.
I do not have a wall that large, resources that great, nor time that extensive so I created my own mini version of that project using my 3d printer and a sharpie. The code uses python and pillow (a python image library) to import an image, scale it to size, and generate g-code to make a 3d printer draw an image using dots from a sharpie. The depth of the stroke of the sharpie determines the dot size.
Check out the code here! After generating the G-Code and placing your paper on your printer bed, you need to position the sharpie over the center and use the G92 command to set that position as (0, 0, 0).
Things still to be figured out:
Fine tuning contrast
Better paper to reduce ink dots bleeding
Better alignment of paper and printer axes
Better translation of dot size to sharpie stoke depth
Original image:
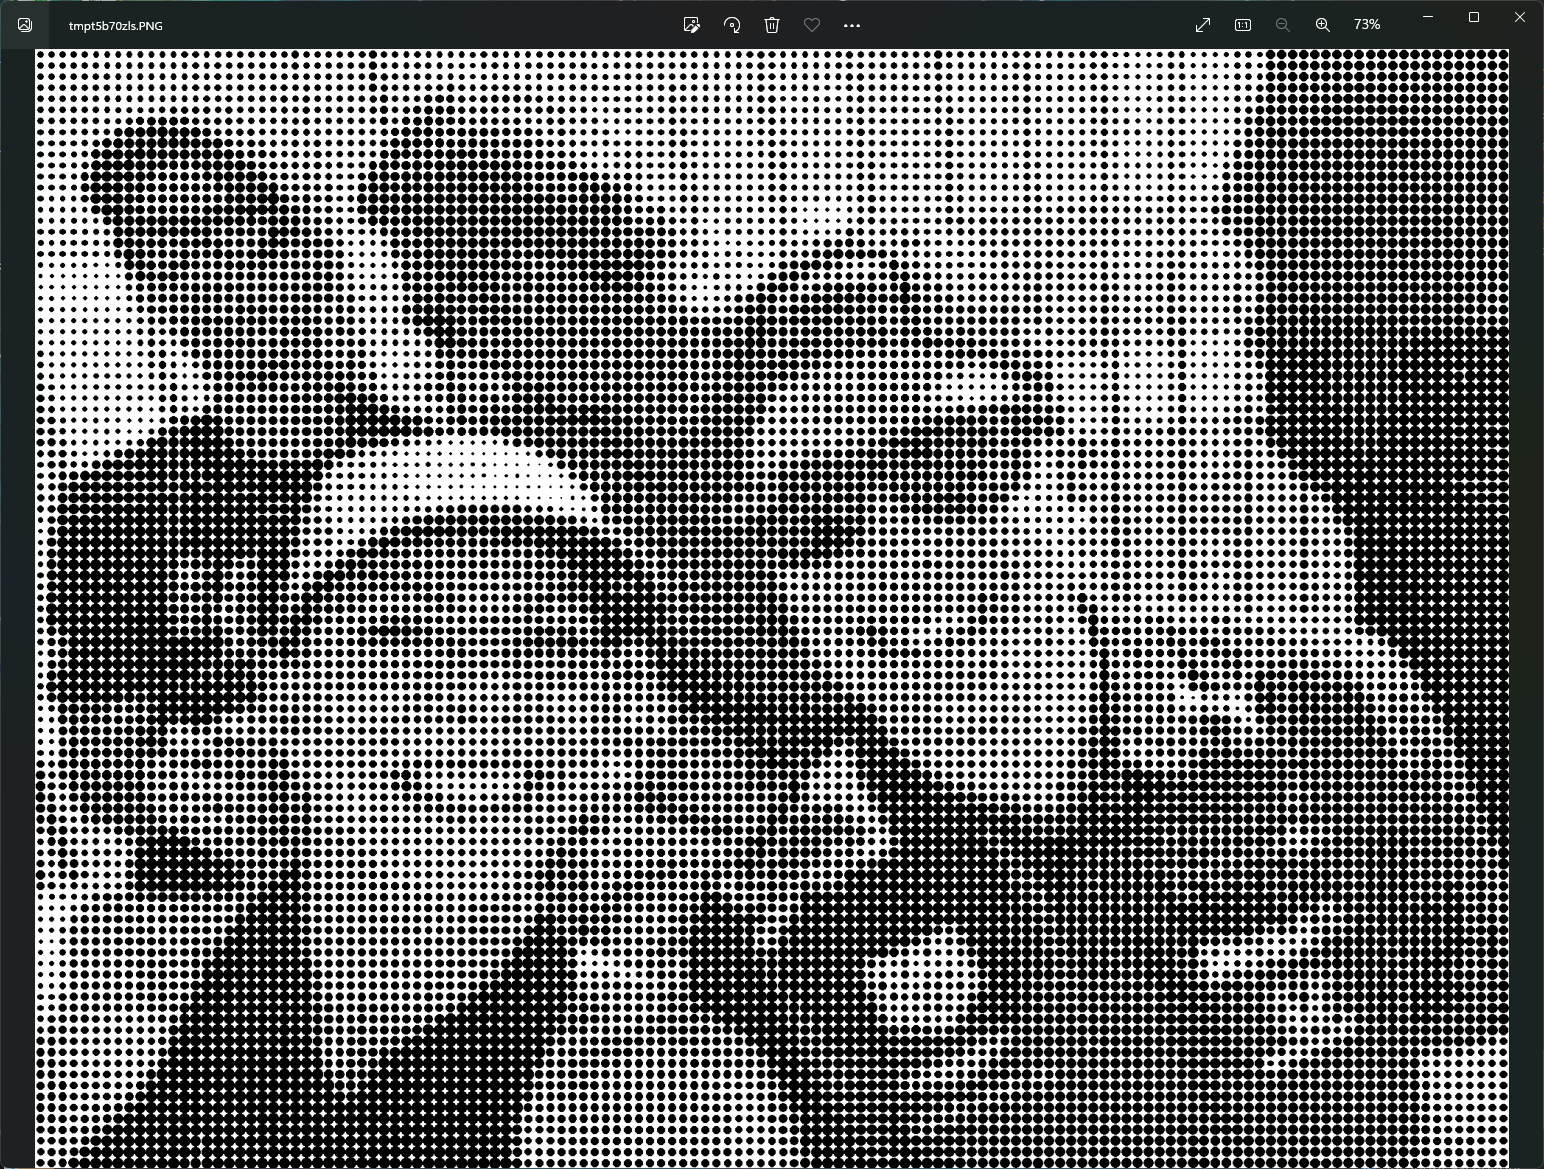
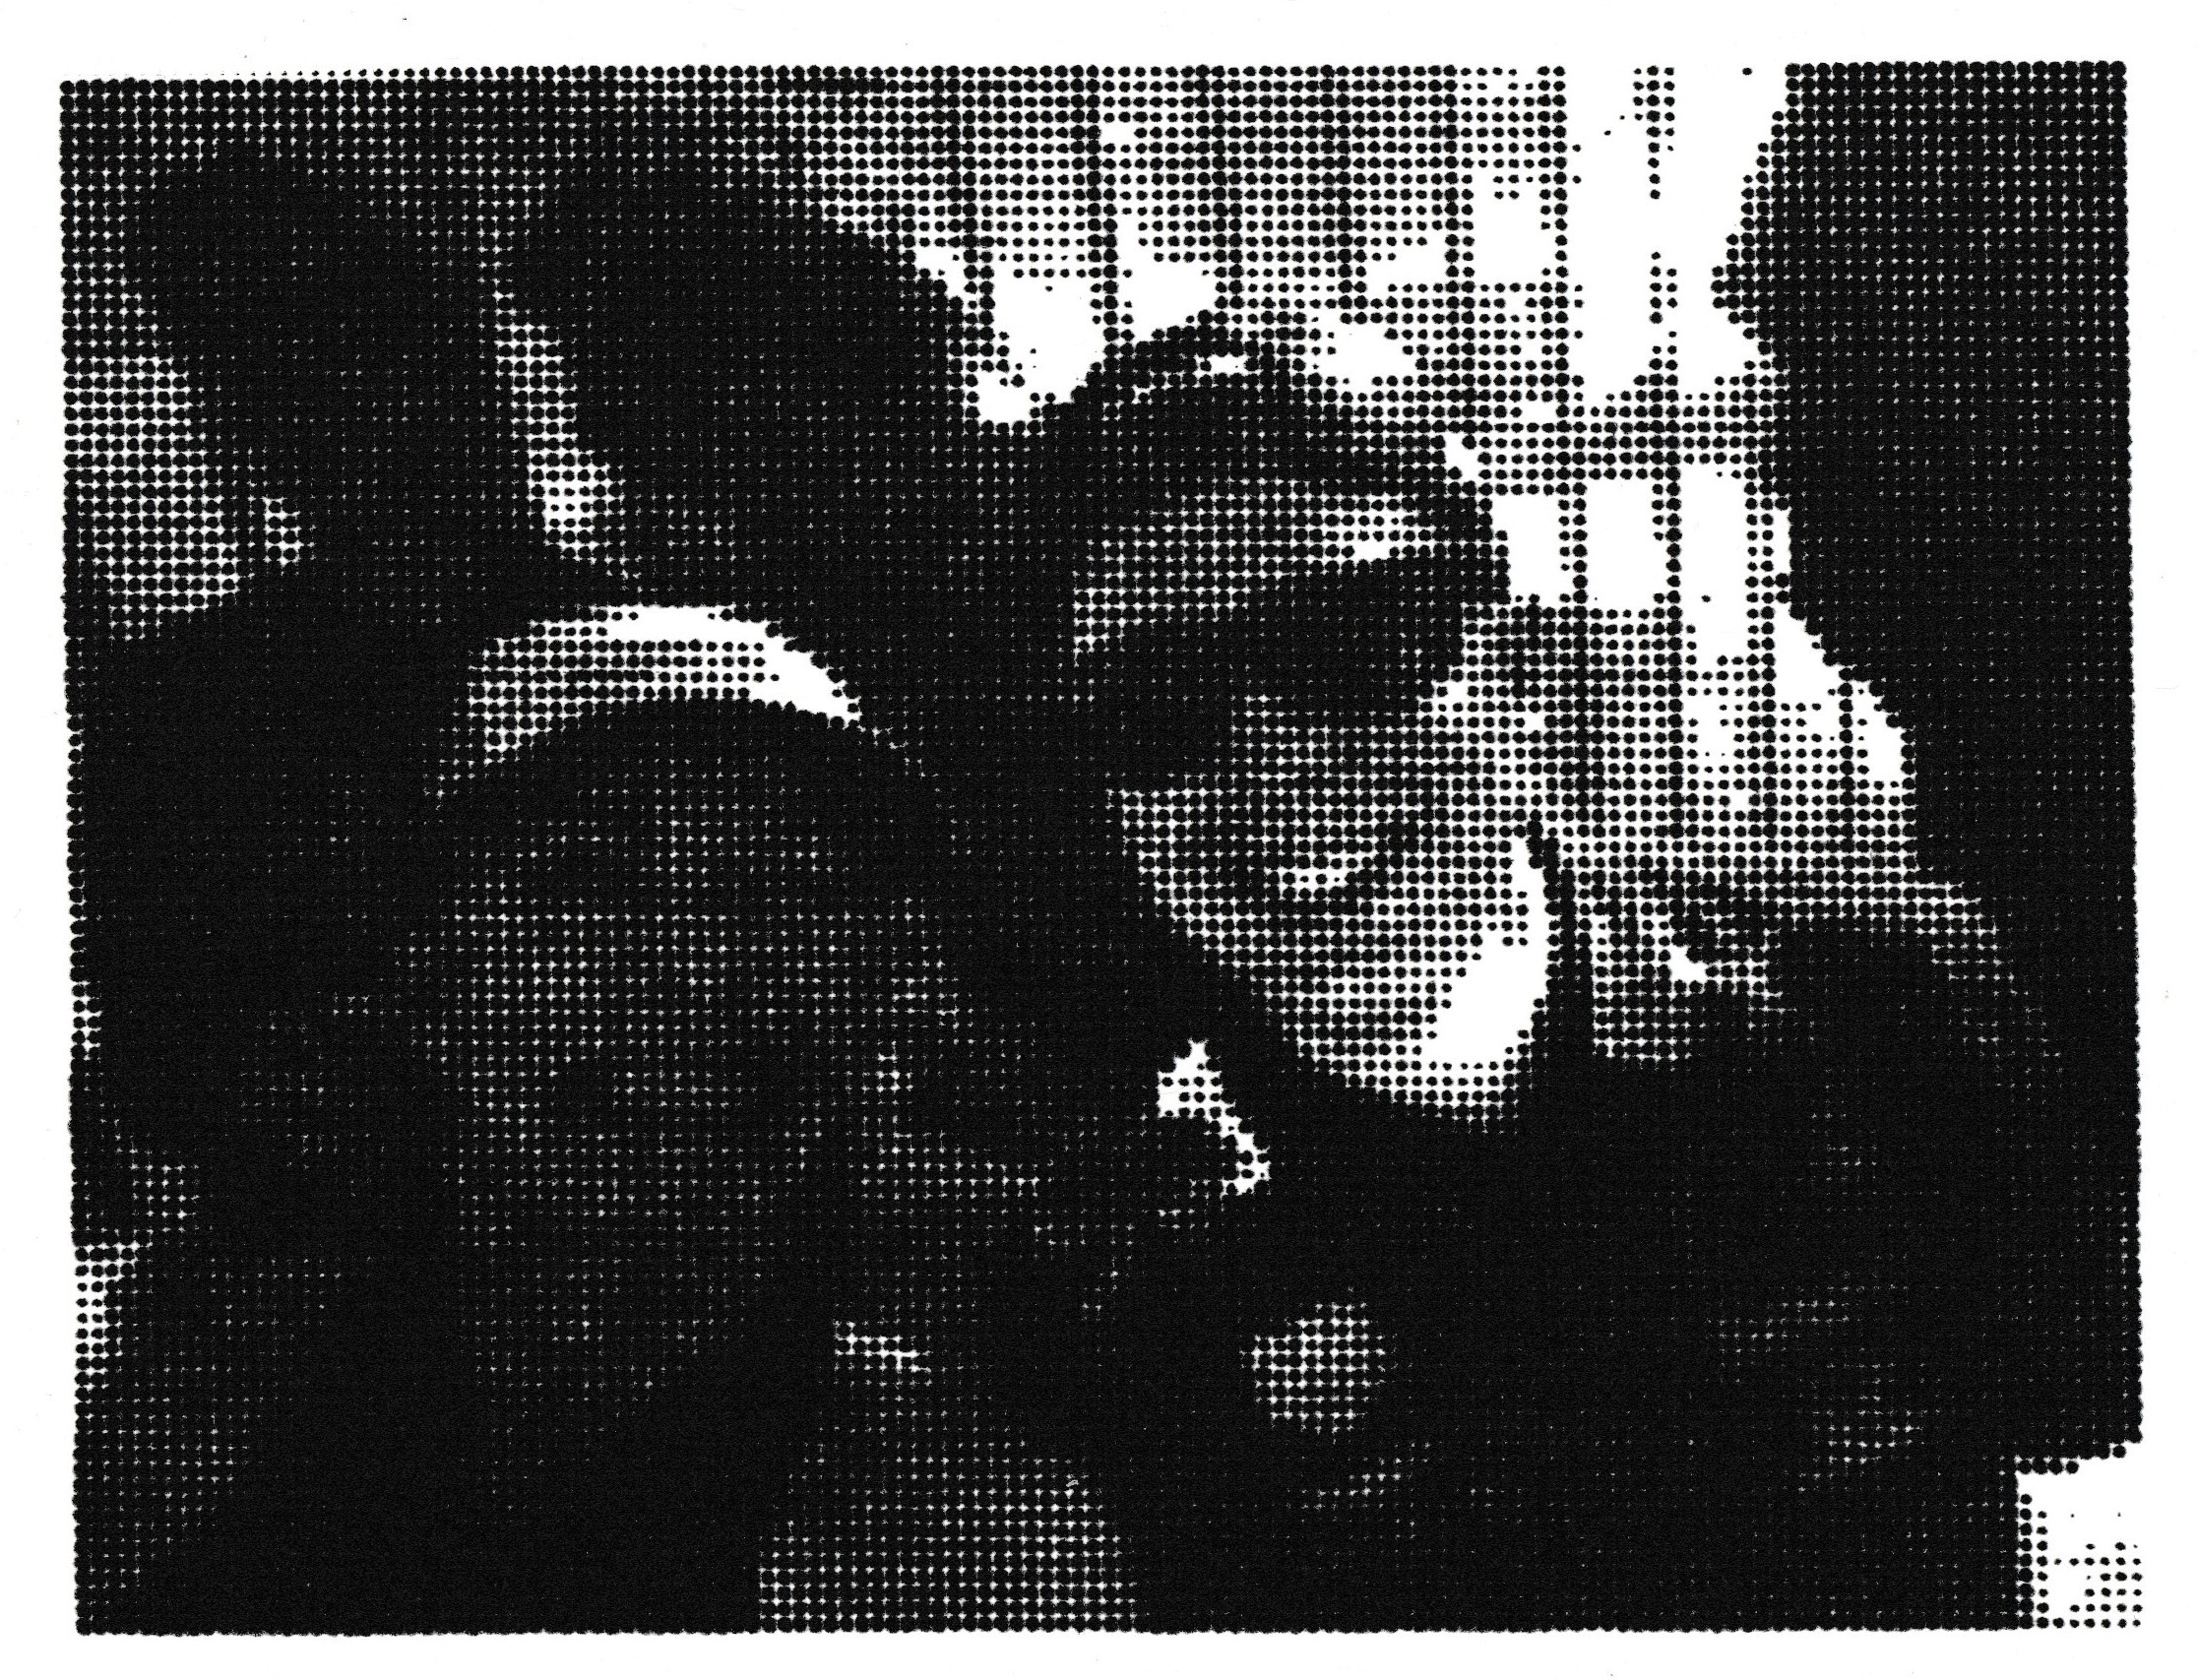
Preview image generated by the python program simulating the output:
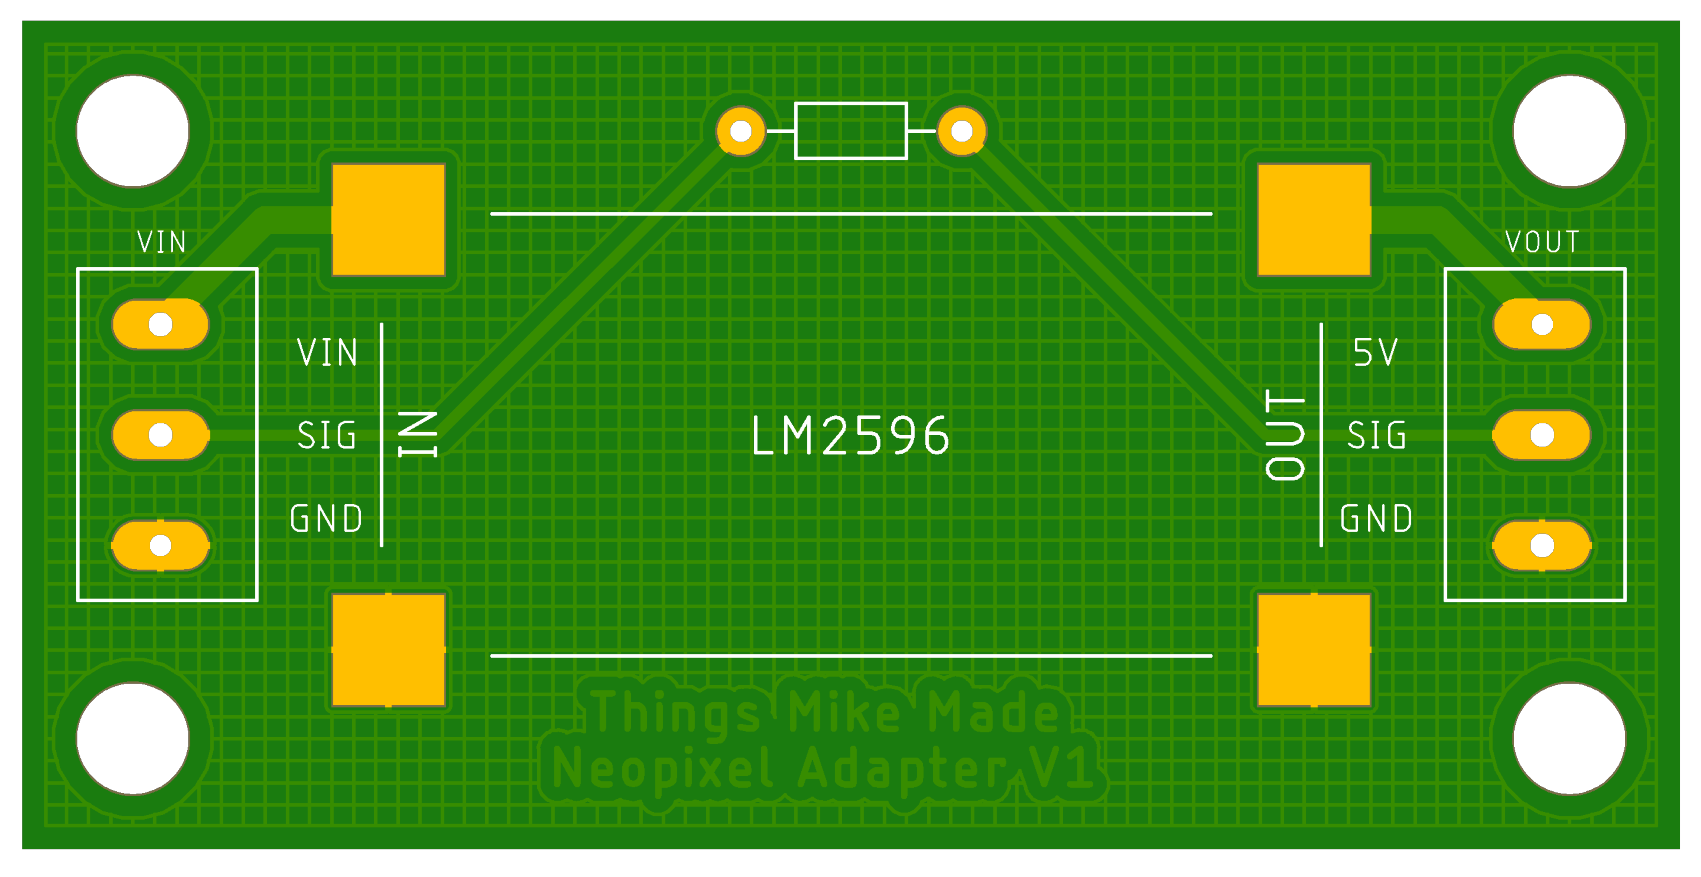
A year ago or so, I put a Neopixel strip on the my 3d printer so I could use the Marlin firmware's Printer Event LED's feature! This was a little trickier than I thought it would be for a couple of reasons. First, Adafruit recommends a 100 Ohm resistor between the controller and the data line input. Second, my 3d printer has a 24V power supply and I didn't want to use the MKS Gen 1.4 5V output because I didn't want to overpower it. So I made a super simple PCB to take care of that!
This is also my first time using a hashed style ground plane like you see in the image below, turns out I really like it. Definitely more fun than a solid ground plane. PCB was designed in Eagle.
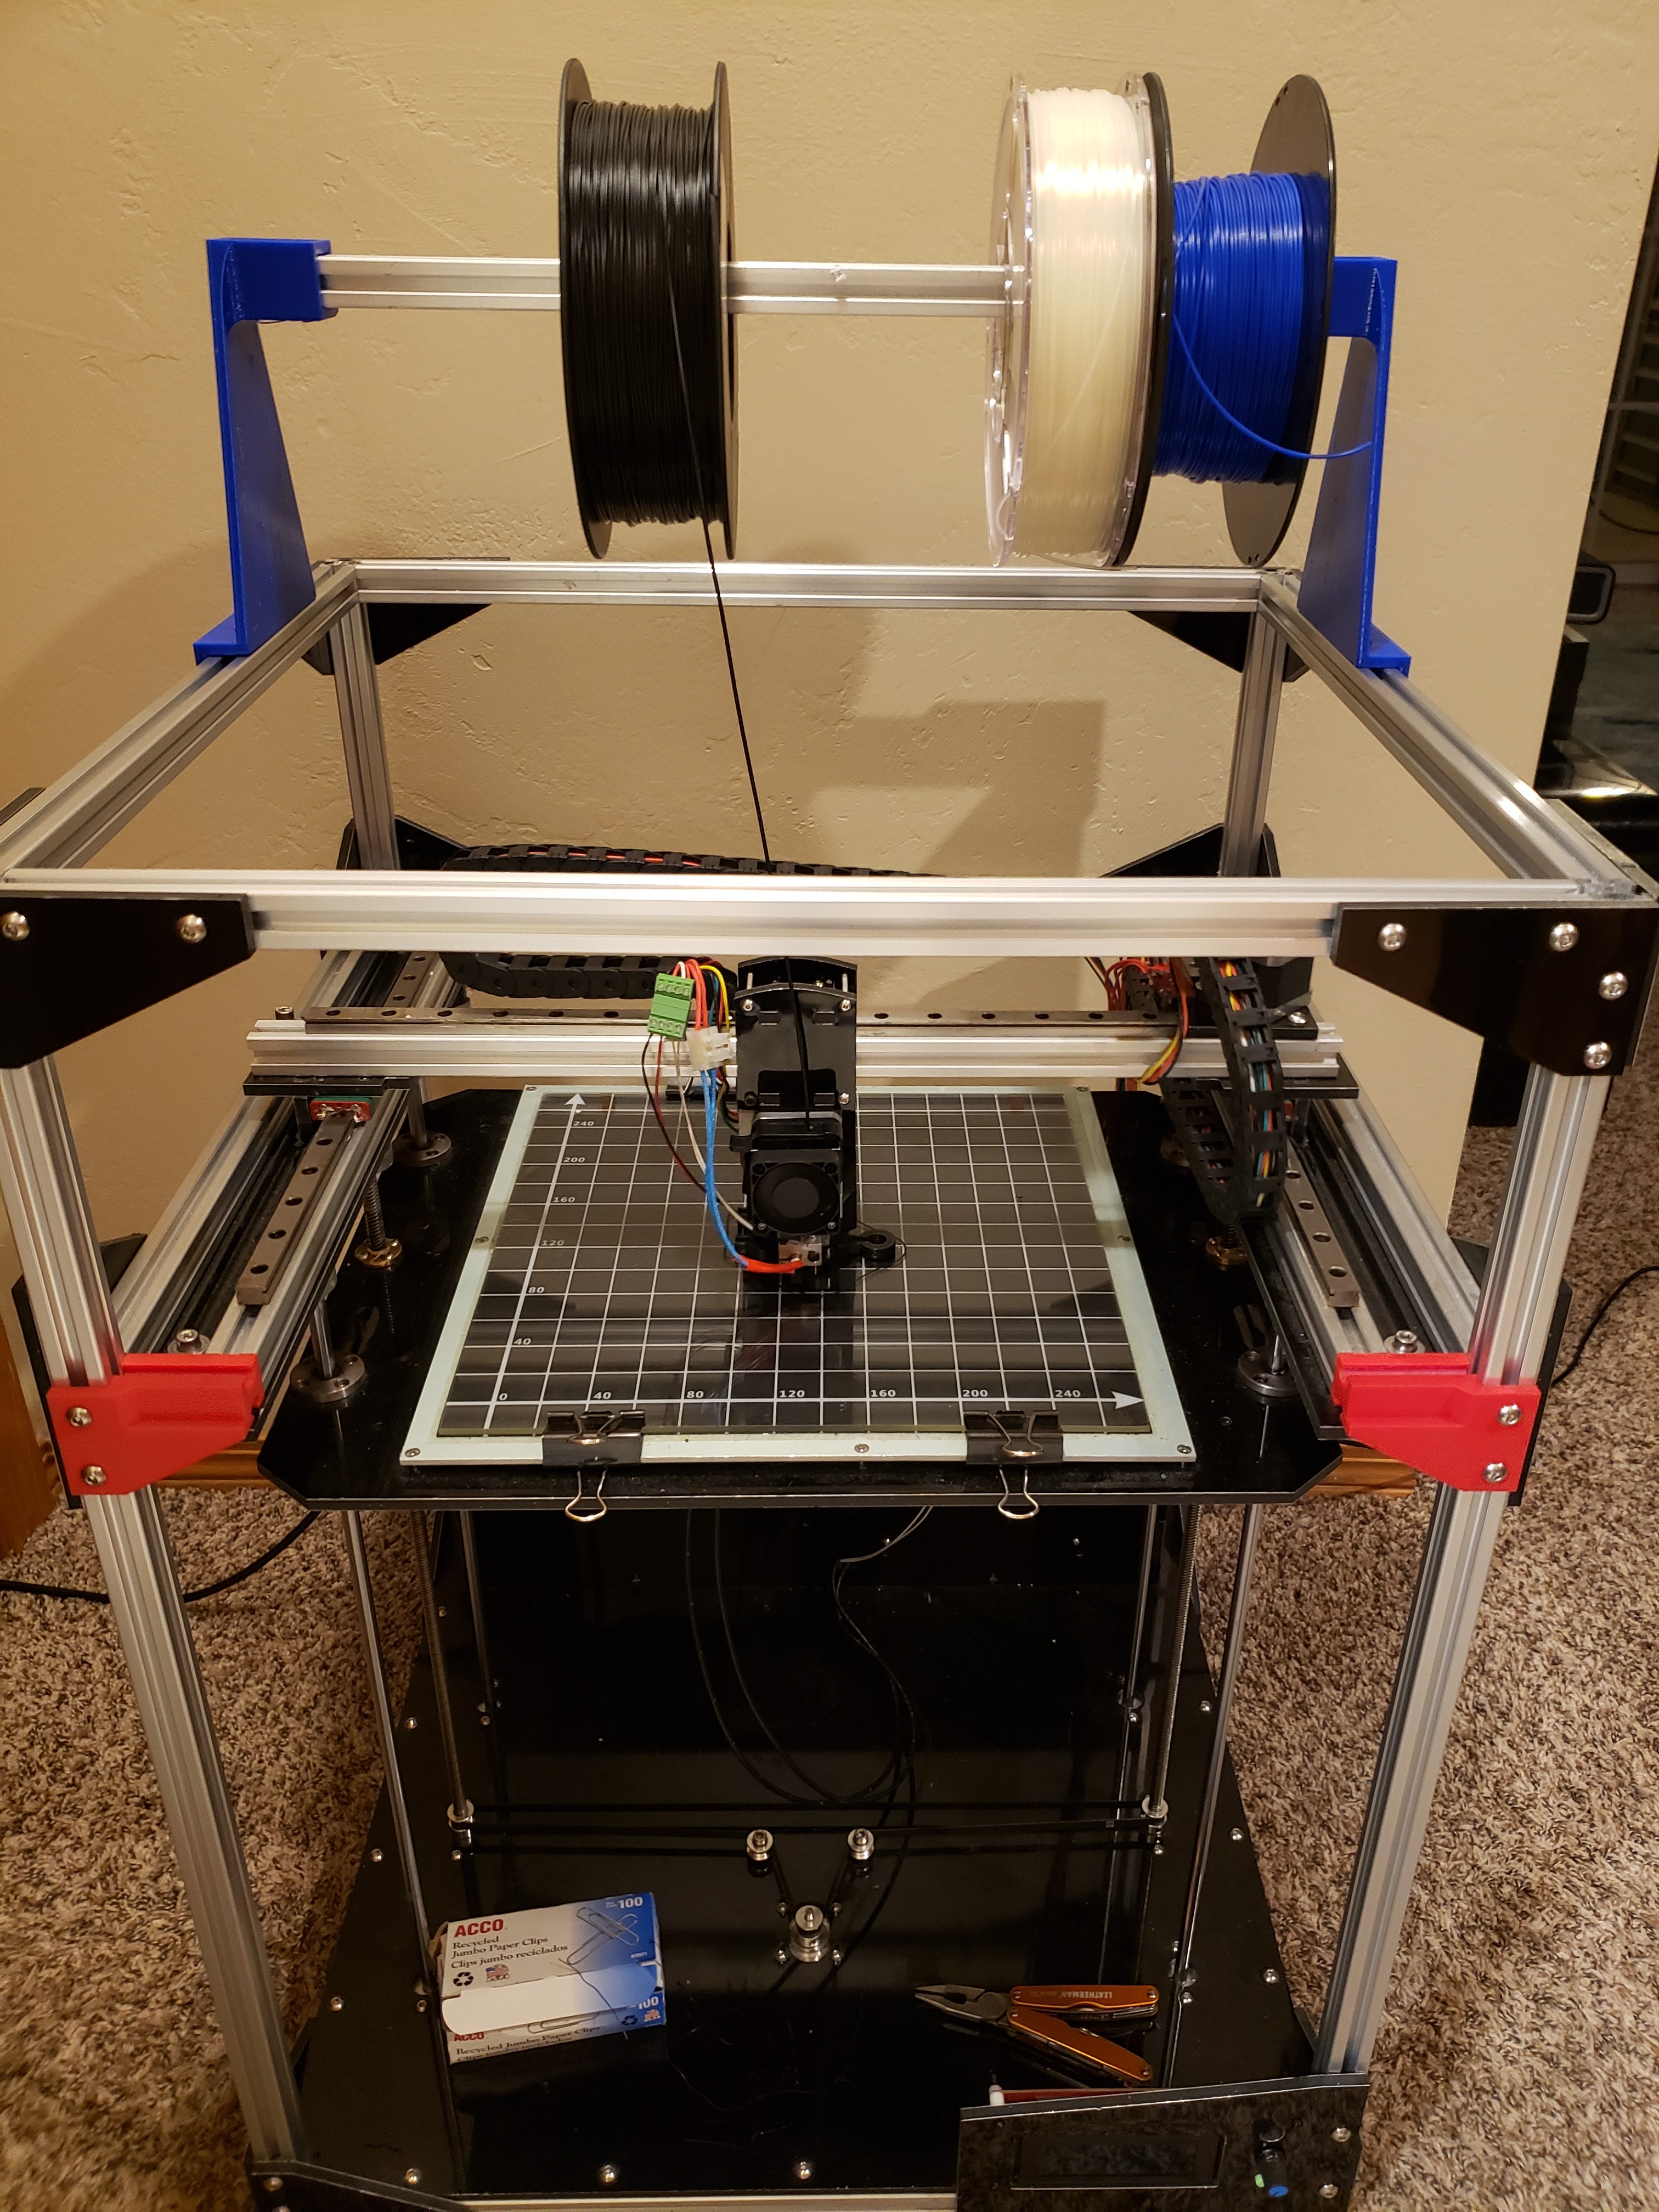
My workhorse 3D printer has been a Folgertech FT-5 for 4 years now. While it certainly has some issues, the now-defunct company made a pretty good printer. It came as a kit which required about two solid days of assembly, which was awesome because the owner gains an intimate understanding of it's inner workings and there was an abundance of extra parts left over.
Throughout the years I implemented the following upgrades:
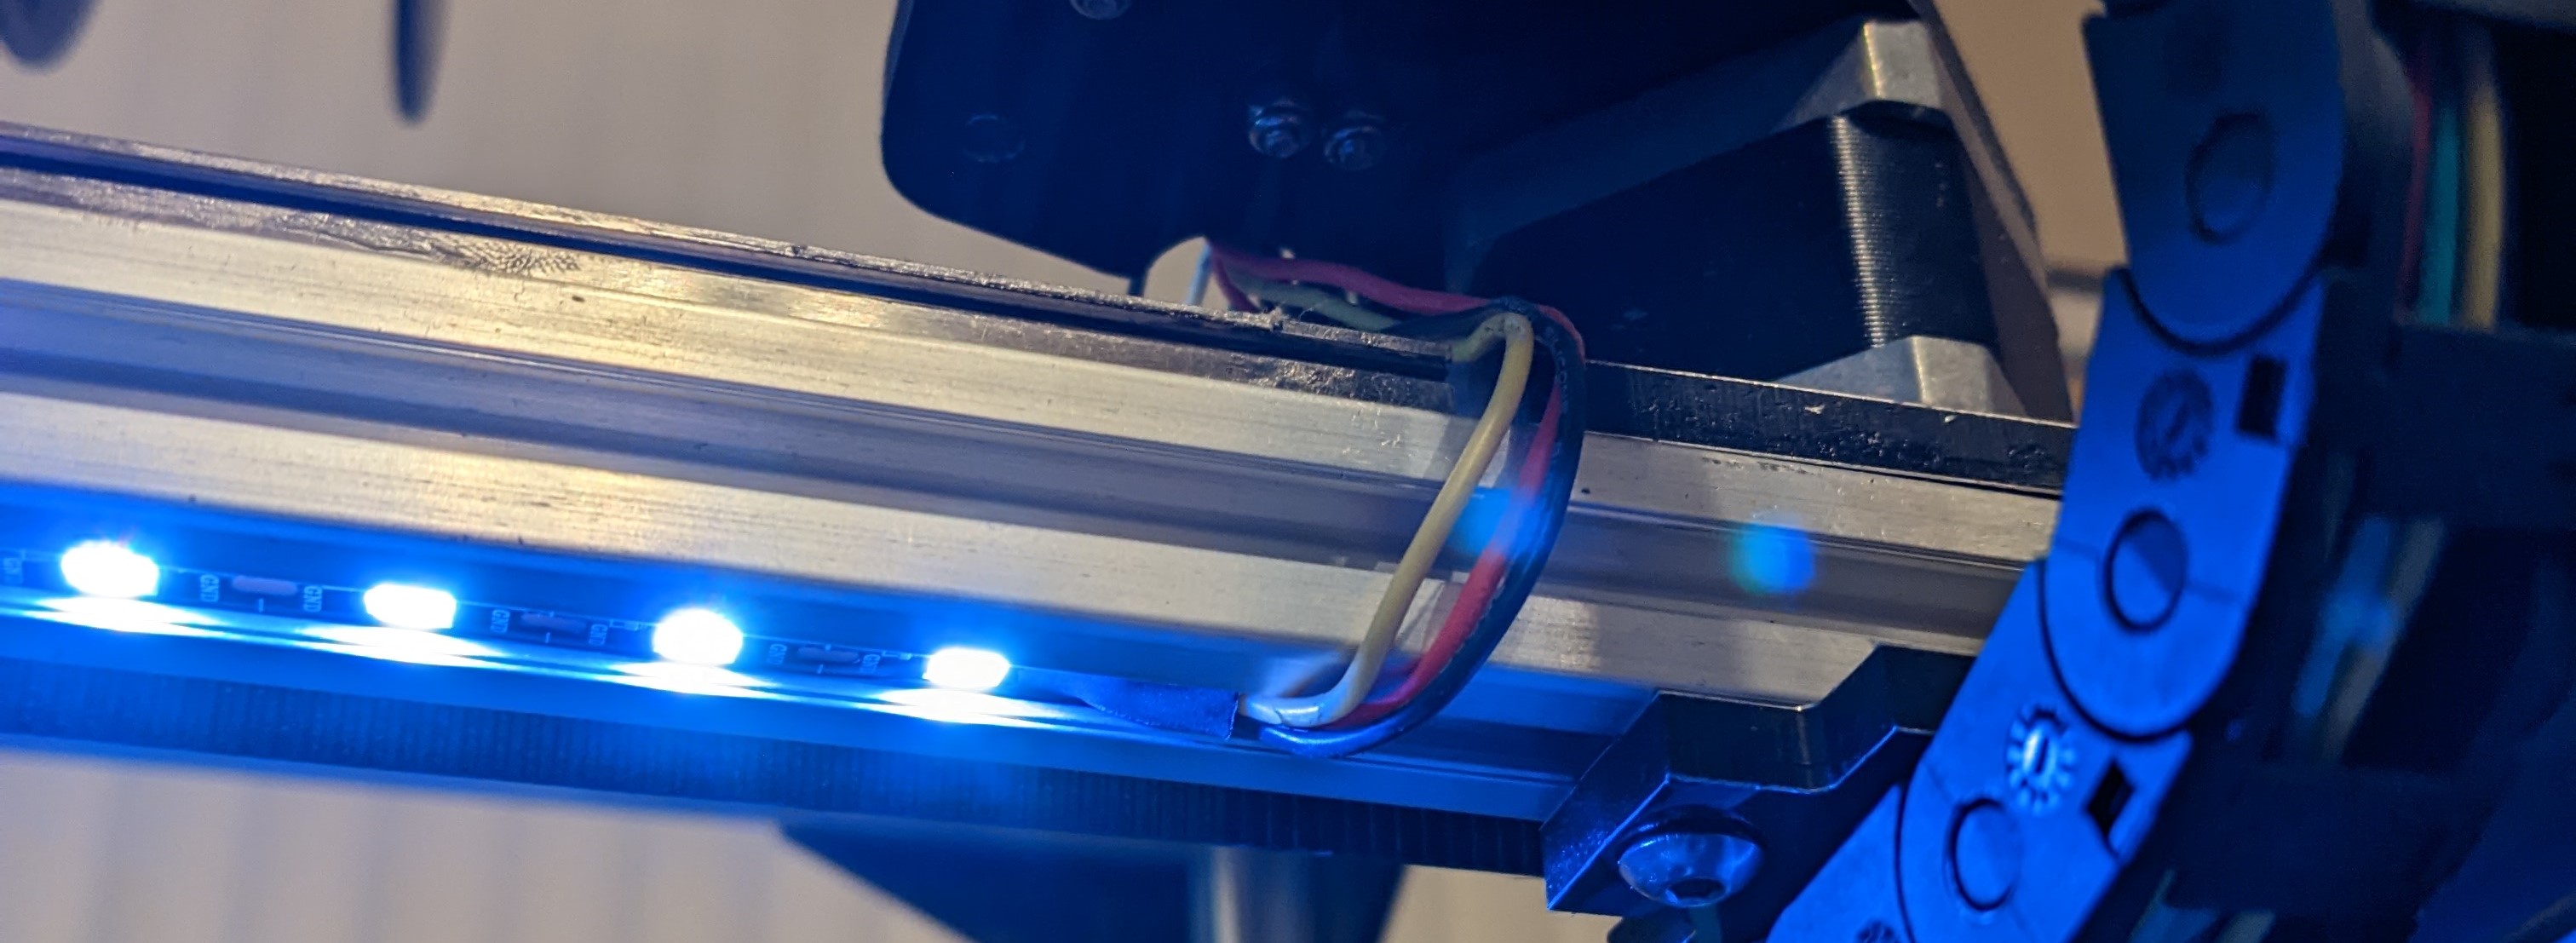
Neopixel Strip
Having a strip to light up the bed is a no-brainer. Plus, the strip will change from blue to red as the printer heats up! I just tucked the strip in the slot under the 8020 that forms the X-Axis carriage.
Better Filament Holder
I printed a couple of mounts to repurpose the 8020 that blocks access to the front of the print bread to hold the filament above the printer. Link to the parts on thingiverse here.
Better Heat Break
The heat break that came with the printer had two issues. First, there was no internal funnel to guide the filament in during a change, so it required a lot of fiddling around to get things working. The other thing was significant heat creep leading to partial clogs through long prints. Both of those problems were fixed by switching to this heat break. It has an internal funnel so swapping filament is a breeze, and it is lined with PFTE so heat creep is no longer an issue.
Custom Cooling Fan
The printer didn't come with a cooling fan, which seems like a HUGE oversight, to be honest. So I designed one! Link to the part on thingiverse here.
Dual Y-Axis End Stops
I ran in to an issue one day where the X and Y axis of my prints were not perpendicular. To fix this, I implemented a second Y-axis end stop so that any misalignment would be fixed after every homing move.
TMC 2209 Stepper Drivers
After switching to TMC 2209 stepper drivers I will absolutely never move back to the much more obnoxious A4988 drivers. TMC 2209's are much quieter, much stronger, and an easy swap. I would love the use the UART feature, but the MKS control boards don't allow it without some bodge wires which i'm not a fan of.
In preparation for the great Kostelnik Family Ping Pong Tournament of 2021, I made a program that would create a scoreboard overlay for a video feed so that everyone at the party would be able to keep watch over the goings-on of the tournament. The program uses a streamdeck to select teams and rounds, flask and flask-socketio to create the HTML overlay, and OBS studio was used to combine the overlay with the video feed.
Features:
Customizable teams (both amount and names)
Customizable rounds (both amount and names)
Possession tracker
Button for side switching
Uses websockets so no delay between button press and change in overlay
Below is a quick video demonstration:
Code for the project can be found here. Full disclosure, this is my first github repo so there's almost certainly something off or missing. Please reach out with any improvements I could make!